 A very long time ago I wrote a blog about tracking airplanes. I was living in London at the time very near London City airport. That project was a lot of fun, so I hacked together another Pi setup to track airplanes here in the Los Angeles area.
I decided to install PiAware and provide my tracker feed to FlightAware. Why? Because if you do, you are given an Enterprise level account (value – $89 USD/month). I fly a lot and use the FlightAware app on my Android phone all the time. It is so easy to track my inbound airplane when I am waiting for a flight.
FlightAware has detailed instructions on how to build a PiAware setup.
The below image from FlightAware’s web site shows how many other Makers have blazed this trail before me. That is a lot of Raspberry Pi’s folks.
For my setup I used the below components:
- Raspberry Pi3 B+
- Pi case with cooling fan
- RTL-SDR UBS dongle (This is what receives the radio signals from the antenna)
- An extended range WiFi adapter (USB)
- A FlightAware optimized antenna
Putting it all together was a snap. To install the software, follow the detailed instructions on the FlightAware web site.
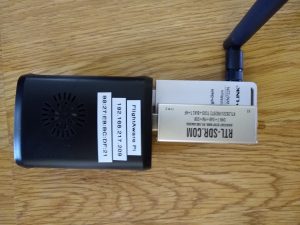
Here is what my setup looks like:
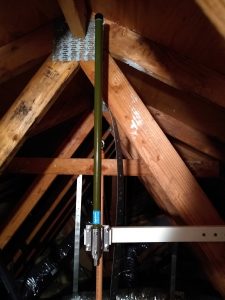
Here is the antenna mounted in the attic:
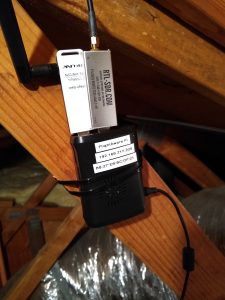
Here is the Pi strapped to a roof joist with tie-wraps:
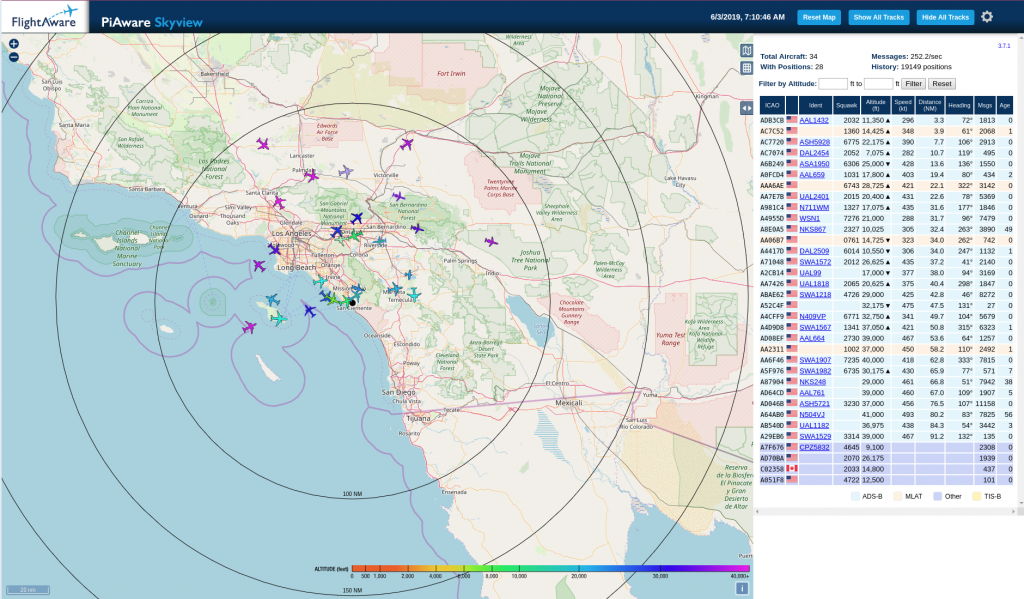
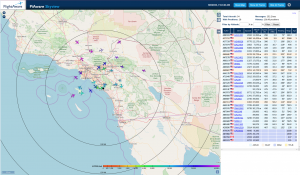
The rig works great. Here is a snapshot of the airspace chaos:
This was a very fun project. The range of my setup is about 150 nautical miles. Not bad for an antenna mounted in the attic.
Post a comment if you would like me to write up a detailed “How-To” document on the entire build process.
Sopwith


I followed your earlier tutorial http://sopwith.ismellsmoke.net/?p=334 and its accompanying PDF
THE INSTRUCTIONS WERE EXCELLENT
I am so grateful that you have taken the time to document your work so clearly that others can follow it so easily. I know this takes time and effort.
Really, thanks again.
mb.