Dell XPS-13 Laptop (Part-1)

O’l Sopwith finally decided it was time to purchase a new laptop. My personal laptops usually last 4-5 years before I part with them. In the past, I have owned Dell’s, Toshiba’s, and even an Azus. Most of my corporate provided units came from Dell, HP, or Lenovo. Sorry Apple freaks, Sopwith is not a fan – so a Mac is not in my future.

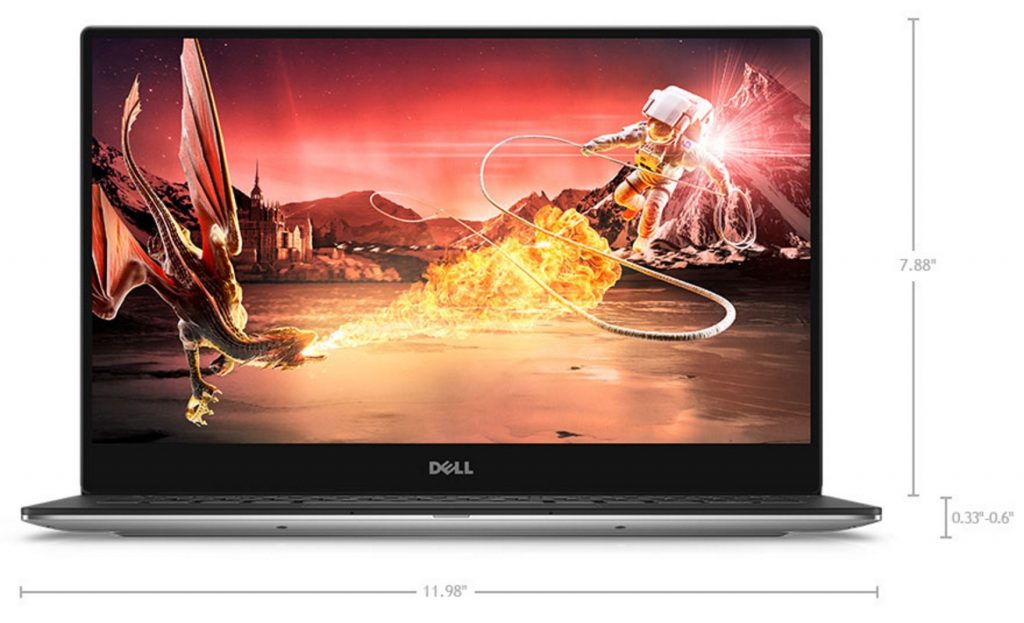
For a long time, I have had my eyes on the Dell XPS-13. In my humble view this is the finest laptop on the planet. You can read about it here:
http://www.dell.com/us/p/xps-13-9350-laptop/pd?ref=PD_OC

dell-xps13

Continue reading

‘How-To’ Series – More Temp Sensors

There continues to be great interest in hacking weather sensors on the Pi. A while ago I wrote a ‘How-To‘ for the AOSONG AM2315 temperature/humidity sensor that was quite popular. Today I have released another ‘How-To‘ for the AM2315’s siblings – the AM2302, DHT11, and DHT22 sensors.

Temperature/Humidity Sensors

Temperature/Humidity Sensors

I have found that experienced Pi/Linux users can get these sensors up and running in a very short time. For many hackers new to the Pi and or Linux, it is a challenging learning process, sometimes even intimidating. Sopwith’sHow-To‘ series are guides designed to help these folks succeed in their Pi project.

Each ‘How-To‘ includes screen shots for nearly every step of a project. Although this takes some work and makes the documents longer, I have found it is these images that help Pi enthusiasts understand each implementation step.

You can download the ‘How-To‘ below. The Zip file also contains the modified test Python script described in the document.


Post a comment if the ‘How-To‘ Series helps you with your projects. Improvements, edits, bug reports, and requests for other ‘How-To‘ topics are most welcome.

There is a kid out there who would love to help you hack your Pi.

Sopwith

Tracking Airplanes on a Raspberry PI

One of the great things about living in London is the fact glossy Linux magazines are so cheap. These magazines are published in the UK and sell in stores for about 6 Quid. The same magazine in the US is $15+ due to the exchange rate and shipping costs. I buy one every chance I get.

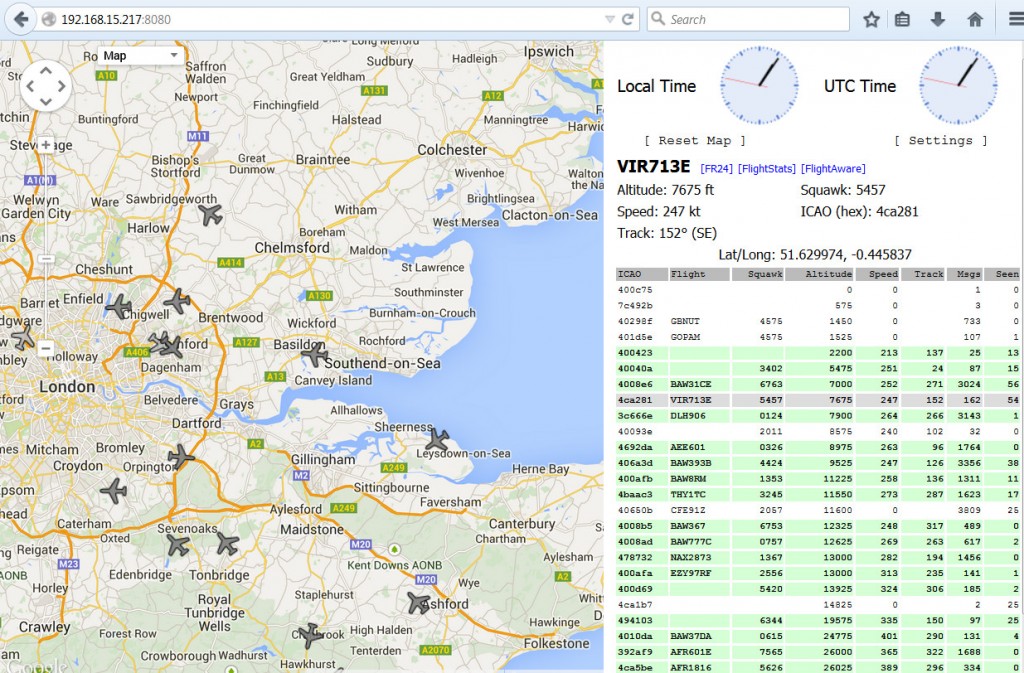
I came across a very interesting article in the December 2014 issue of Linux Magazine titled, “Plane Spotting.” Written by Charly Kuhnast, the one-page article describes how to use a USB DVB-T device to capture airplane traffic and plot it on a Google map. What a cool idea! Ol’ Sopwith decided to purchase a DVB-T and see if it would work on the Raspberry Pi.

Continue reading

Hacking the Tastic RFID Tool

In my recent posts I hacked a BV4618 LCD to prepare it for use in my Tastic RFID project. Now that I have the BV4618 working and an improved and simple code library (sopBV4618_S), we return to the Tastic tool. If you are not familiar with the Bishop Fox Tastic project you can read about it here.

Ol’ Sopwith again wants to make it clear that I am not interested in the dark-side of RFID hacking. Nor do I encourage anyone to do so. The goal of this project is to learn about RFID and how it all works. Fascinating stuff.

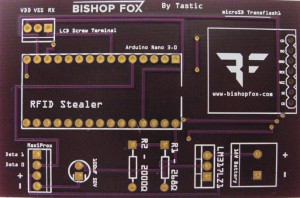
After researching the Tastic RFID documentation I ordered three PCB’s using the Tastic project PCB documents. The vendor I used was OSH Park. Highly recommended outfit that does great work.

Tastic PCB

Tastic PCB

Continue reading

Hacking a BV4618 20×4 LCD (Part-3)

In Part-2 of this blog post series I provided a detailed ‘How-To’ for new users of the  ByVac BV4618 LCD for their Arduino projects. It is clear to me there are plenty of Arduino hobbyists who want to hack LCD’s and need a simple way to wire them up and write to them.

The ByVac BV4618 LCD is a great choice. You can actually get it up and running with three wires – V+, Gnd, and Tx. Writing text to the display is pretty straightforward using the BV4618_S library. The library is useful, but Ol’ Sopwith does not think the class is easy enough to use for beginners.

To solve this problem I extended the BV4618_S class library and created a new class named sop4618_S. The class is brain-dead simple to use and it hides all the complexities of the VT100 code sequences.

Continue reading

Hacking a BV4618 20×4 LCD (Part-2)

In Part-1 of this blog post series Ol’ Sopwith described the ByVac BV4618 LCD and how to wire it up to an Arduino Uno. If you are interested in how to program an Arduino to talk to this LCD, pull up a chair and let’s get started.

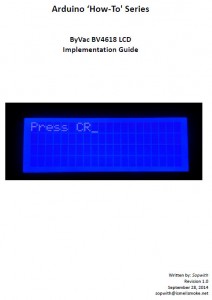
I wrote up a detailed implementation guide for the BV4618 LCD that walks through the entire process to get the LCD into one of your cool Arduino projects. If you are new to the Arduino and want a quick guide on how to setup the developer IDE you can follow this guide.

Arduino 'How-To' Series

Arduino ‘How-To’ Series

  Continue reading

Hacking a BV4618 20×4 LCD (Part-1)

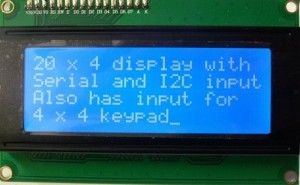
My previous post describes my new venture into RFID hacking using a Tastic RFID stealer. The Tastic gadget requires a serial 4×20 LCD to display a proximity cards site code and serial number. I purchased a ByVac BV4618 LCD as a replacement to the LCD listed in the Tastic specifications due to local availability.

  BV4618 4x20 LCD         

As Sopwith always advises, the first thing you need to do with a new gadget is to download the datasheet. You can find it here. The internal controller/driver of the LCD is a Hitachi HD44780. This very popular device can be found in all types of LCD applications. The BV4618 piggybacks on the HD44780 providing a very convenient communication interface.

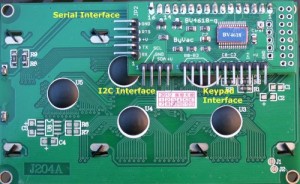
The BV4618 provides three interfaces. A serial interface provides support for both TTL and RS-232. This means you can connect a MCU such an Arduino or Raspberry PI, or use 12V serial connections to a serial port on a PC. There is also an I2C interface and support for a small numeric keypad.

Continue reading

Hacking a 20×4 LCD for RFID Research

Sopwith's  Current Project

Sopwith’s Current Project (BV4618 LCD)

Have not blogged much over the summer because the Mrs. and I have moved to London on a temporary work assignment. Anyone who has been an expat understands the complexities of a relocation. Now that we are here and settled, I can get back to my hacking projects. I bought my Rasberry Pi’s with me and purchased a couple of Arduino’s and bench tools at a local Maplin store.

My latest interest is in RFID cards. The use of this technology is exploding. Since I am in the security business, understanding how RFID is used for secure access to large data centers and other secure facilities is important. In my research, I came across an interesting project involving an Arduino Nano. The Tastic RFID stealer is a very clever hack.

Continue reading

Python3 vs Python2 – Playing nice

Like many of my fellow smoke-makers, ol’ Sopwith has been very reluctant to adopt Python3. In my view, Python2.7 is the most stable and flexible version of Python ever released. It is hard to believe the first version of Python3 was released in 2008. Folks – that was six years ago! The time has come to move to Python3.

In my recent work with the AM2315 humidity sensor, I was forced to use Python3 because the quick2wire library I use only runs in the Python3 environment. So, I wrote a Python3 class that wraps the capabilities of the AM2315 sensor.

A couple of important points about Python3. First, installing Python3 on your computer does nothing to your existing Python2.x installation. Python3 is installed in a completely separate location and runs in a separate environment. This means it is very easy to have both version on your system. If you install Python3 on Windows, it will become the default Python version. You can still use Python2.x but you will have to ensure its PATH is set correctly. On Linux you run your Python3 scripts using python3 from the command prompt.

Second, there are a few things in Python3 that you must understand up front. The biggest gotcha for most people is that the print statement is now a function (print()). This is a very good thing although it may take you some time to internalize this change. Also, all ambiguities about Unicode are gone in Python3. This is a big change. You must now think of strings as ‘text’ and all other data as ‘bytes.’ This is truly ‘elegant’ as they say. Once you understand how this works it makes much more sense.

Sopwith recommends that you write all new Python code in Python3. Whether you want to port your old code to Python3 is up to you.

Continue reading